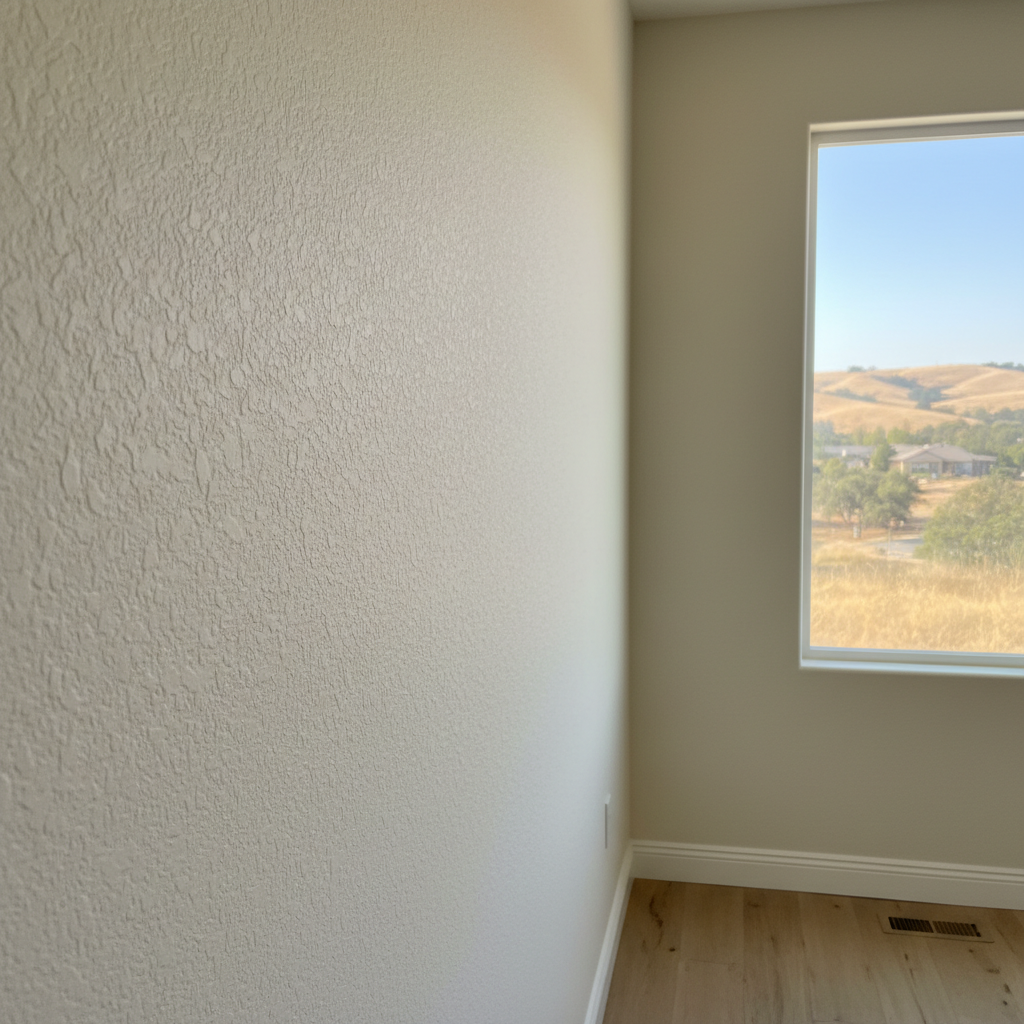
Alright, let's talk interior paint. Most folks in Lincoln, myself included, have looked at a tired-looking wall and thought, "I can paint that." And you know what? A lot of the time, you absolutely can. But there's a difference between slapping some paint on and getting a finish that looks professional and lasts. That's what we're going to dig into today: what you need to know before, during, and after you pick up that brush.
Before You Even Think About Paint Colors
Planning is half the battle, especially with interior painting. You're not just buying a can of paint; you're setting up a whole project. First off, what's the goal? Are you just freshening up a living room, or are you tackling a whole-house overhaul? That makes a big difference.
- Check the Walls: Don't skip this step. Are there cracks? Nail holes? Peeling paint from a previous bad job? You've got to fix these things first. Spackle, sand, repeat. A smooth surface is non-negotiable for a good finish. I've seen plenty of homes in the older parts of Lincoln, like around the historic downtown, where walls have settled and cracked over the years. You can't just paint over that, can you?
- Pick Your Paint Wisely: This isn't just about color. Think about sheen. Flat paint hides imperfections well but isn't very washable. Eggshell or satin is a good all-around choice for most rooms – durable and a little easier to clean. Semi-gloss is great for trim, doors, and bathrooms because it's super tough and easy to wipe down. Don't cheap out on paint; good quality stuff covers better, lasts longer, and is easier to work with.
- Gather Your Tools: You'll need more than just a brush. Rollers (and extension poles!), paint trays, painter's tape (the good stuff, not the cheap blue kind that lets paint bleed through), drop cloths (canvas is better than plastic, trust me), a utility knife, sandpaper, spackle, and a putty knife. Don't forget safety glasses and gloves.
- Clear the Room: Move out as much furniture as you can. What you can't move, push to the center and cover completely. Take down pictures, curtains, and switch plates. You want a clear workspace.
During the Paint Job: Patience is Key
Okay, you've prepped. Now for the fun part. Or the messy part, depending on how you look at it.
- Clean the Walls: Before taping, give your walls a good wipe down. A damp cloth with a little mild detergent will do the trick, especially in kitchens or bathrooms where grease and grime can build up. Let them dry completely.
- Tape Off Everything: Use that good painter's tape on baseboards, door frames, window frames, and ceilings if you're not painting them. Press it down firmly to prevent bleed-through.
- Prime if Needed: If you're going from a dark color to a light one, painting over stains, or working on new drywall, prime first. It'll save you headaches and extra coats of expensive paint later.
- Cut In First: Use a good angled brush to paint along the edges where the wall meets the ceiling, trim, and corners. Do this before rolling. Don't overload your brush, and try to keep your lines straight.
- Roll It Out: Load your roller evenly and apply paint in 'W' or 'M' patterns, then fill them in. Work in small sections, from top to bottom. Overlap your wet edges to avoid roller marks. Don't press too hard; let the roller do the work.
- Two Coats (Usually): Most colors, especially if you're making a significant change, will need two coats. Let the first coat dry completely according to the manufacturer's instructions before applying the second. Rushing this will just lead to a streaky mess.
After the Last Stroke: Finishing Up Right
You're almost there! Don't celebrate too early.
- Remove Tape: Pull off the painter's tape while the paint is still slightly wet (but not dripping). If you wait until it's completely dry, the paint can peel off with the tape. Pull it at a 45-degree angle.
- Touch-Ups: Inspect your work. Are there any spots you missed? Any drips? Grab a small brush and fix them now.
- Clean Up: Clean your brushes and rollers thoroughly with soap and water (for latex paint) or mineral spirits (for oil-based). Store leftover paint properly in sealed cans.
- Ventilate: Keep windows open for a day or two to air out the room. Even low-VOC paints have some odor.
DIY vs. Calling Omega Paint Co.
So, when can you do it yourself, and when should you call in the pros? If you're just painting a single room, you've got the time, and the walls are in decent shape, go for it! It's a satisfying project and you'll save some money.
However, if you're looking at painting multiple rooms, your walls have significant damage (like large holes or extensive cracks), you have high ceilings that make you nervous, or you just don't have the time or patience, that's when you call someone like Omega Paint Co. We've got the experience, the right equipment, and we can get the job done efficiently and cleanly, leaving you with a flawless finish without the headache. Sometimes, knowing it's done right is worth every penny. We've seen it all, from minor touch-ups to full home transformations, and we're always happy to give you an honest assessment of your project.